Clustered Forward+

由于延迟渲染在带宽使用,透明物体,多材质渲染等问题上的困难,在 Arche-cpp 当中主要采用了前向渲染的模式,并且整合 Forward+ 对光源进行剔除。 光源剔除一般有两种类型,一种是 Tile-based,对屏幕空间做划分,另外一种是 Cluster-based 对视锥体做划分。两种方式本质是类似的,这里以 Cluster-based 为基础进行介绍。 在开发的过程中,我逐渐意识到Forward+和阴影渲染非常类似,都是需要在正式渲染之前做一些"预计算"的准备工作,前者是计算逐 Cluster 计算光源列表,后者是渲染 ShadowMap,所以最终的代码结构也就非常相似。
主体逻辑
为了使得更多的前后处理可以被整合到主循环当中,因此将阴影和光照的更新都单独提出来:
void ForwardApplication::updateGPUTask(wgpu::CommandEncoder& commandEncoder) {
    _shadowManager->draw(commandEncoder);
    _lightManager->draw(commandEncoder);
}
tip
ShadowManager 和 LightManager 都是单例模式,用户也可以通过类似的方式扩展引擎的能力,并且通过子类将自己的单例管理器的更新插入进来。
因此,主要的逻辑都集中在 draw 函数当中:
void LightManager::draw(wgpu::CommandEncoder& commandEncoder) {
    _updateShaderData(_scene->shaderData);

    size_t pointLightCount = _pointLights.size();
    size_t spotLightCount = _spotLights.size();
    if (pointLightCount + spotLightCount > FORWARD_PLUS_ENABLE_MIN_COUNT) {
        _enableForwardPlus = true;
        bool updateBounds = false;

        _forwardPlusUniforms.matrix = _camera->projectionMatrix();
        _forwardPlusUniforms.inverseMatrix = _camera->inverseProjectionMatrix();
        if (_forwardPlusUniforms.outputSize.x != _camera->width() ||
            _forwardPlusUniforms.outputSize.y != _camera->height()) {
            updateBounds = true;
            _forwardPlusUniforms.outputSize = Vector2F(_camera->framebufferWidth(), _camera->framebufferHeight());
        }
        _forwardPlusUniforms.zNear = _camera->nearClipPlane();
        _forwardPlusUniforms.zFar = _camera->farClipPlane();
        _forwardPlusUniforms.viewMatrix = _camera->viewMatrix();
        _scene->shaderData.setData(_forwardPlusProp, _forwardPlusUniforms);

        // Reset the light offset counter to 0 before populating the light clusters.
        uint32_t empty = 0;
        _clusterLightsBuffer->uploadData(_scene->device(), &empty, sizeof(uint32_t));

        auto encoder = commandEncoder.BeginComputePass();
        if (updateBounds) {
            _clusterBoundsCompute->compute(encoder);
        }
        _clusterLightsCompute->compute(encoder);
        encoder.End();
    }
}
在主体逻辑当中涉及到两个计算着色器,前者只在更新视口大小时调用,后者则需要每帧调用,以计算光源列表。由于 ComputePass 的良好设计,我们只需要关注计算着色器本身即可。
计算 Cluster 的包围盒
计算包围盒的逻辑,就是让计算着色器中的每一个 thread 都计算出屏幕空间的包围盒,然后通过投影矩阵的逆变换,转到视图空间中:
fn clipToView(clip : vec4<f32>) -> vec4<f32> {
  let view = u_cluster_projection.inverseMatrix * clip;
  return view / vec4<f32>(view.w, view.w, view.w, view.w);
}

fn screen2View(screen : vec4<f32>) -> vec4<f32> {
  let texCoord = screen.xy / u_cluster_projection.outputSize.xy;
  let clip = vec4<f32>(vec2<f32>(texCoord.x, 1.0 - texCoord.y) * 2.0 - vec2<f32>(1.0, 1.0), screen.z, screen.w);
  return clipToView(clip);
}
在每个 Cluster 中保存光源列表
逐帧需要计算的,就是光源的列表,使得在进行渲染时,可以根据片段的位置找到对应的 Cluster,提取出光源列表进行光照的计算。这样一来大量不受到光照的片段就不需要进行昂贵的光源遍历。 由于我们已经对每一个 Cluster 都计算了包围盒,接下来就是循环光源,判断以光源坐标为中心,辐射范围为半径的圆,是不是和包围盒相交。
if (!lightInCluster) {
    let lightViewPos = u_cluster_view.matrix * vec4<f32>(u_spotLight[i].position, 1.0);
    let sqDist = sqDistPointAABB(lightViewPos.xyz, u_clusters.bounds[tileIndex].minAABB, u_clusters.bounds[tileIndex].maxAABB);
    lightInCluster = sqDist <= (range * range);
}
当 lightInCluster 为 true 时就讲对应的光源的指标记录下来。由于我们需要一个数组记录这些信息,但每个 thread 都是并行计算的,因此需要原子操作计算每个 Cluster 在这个数组中的起点。
并且基于这一起点,将计算得到的信息保存下来:
var offset = atomicAdd(&u_clusterLights.offset, clusterLightCount);

for(var i = 0u; i < clusterLightCount; i = i + 1u) {
  u_clusterLights.indices[offset + i] = cluserLightIndices[i];
}
u_clusterLights.lights[tileIndex].offset = offset;
u_clusterLights.lights[tileIndex].point_count = clusterLightCount;
修改渲染材质
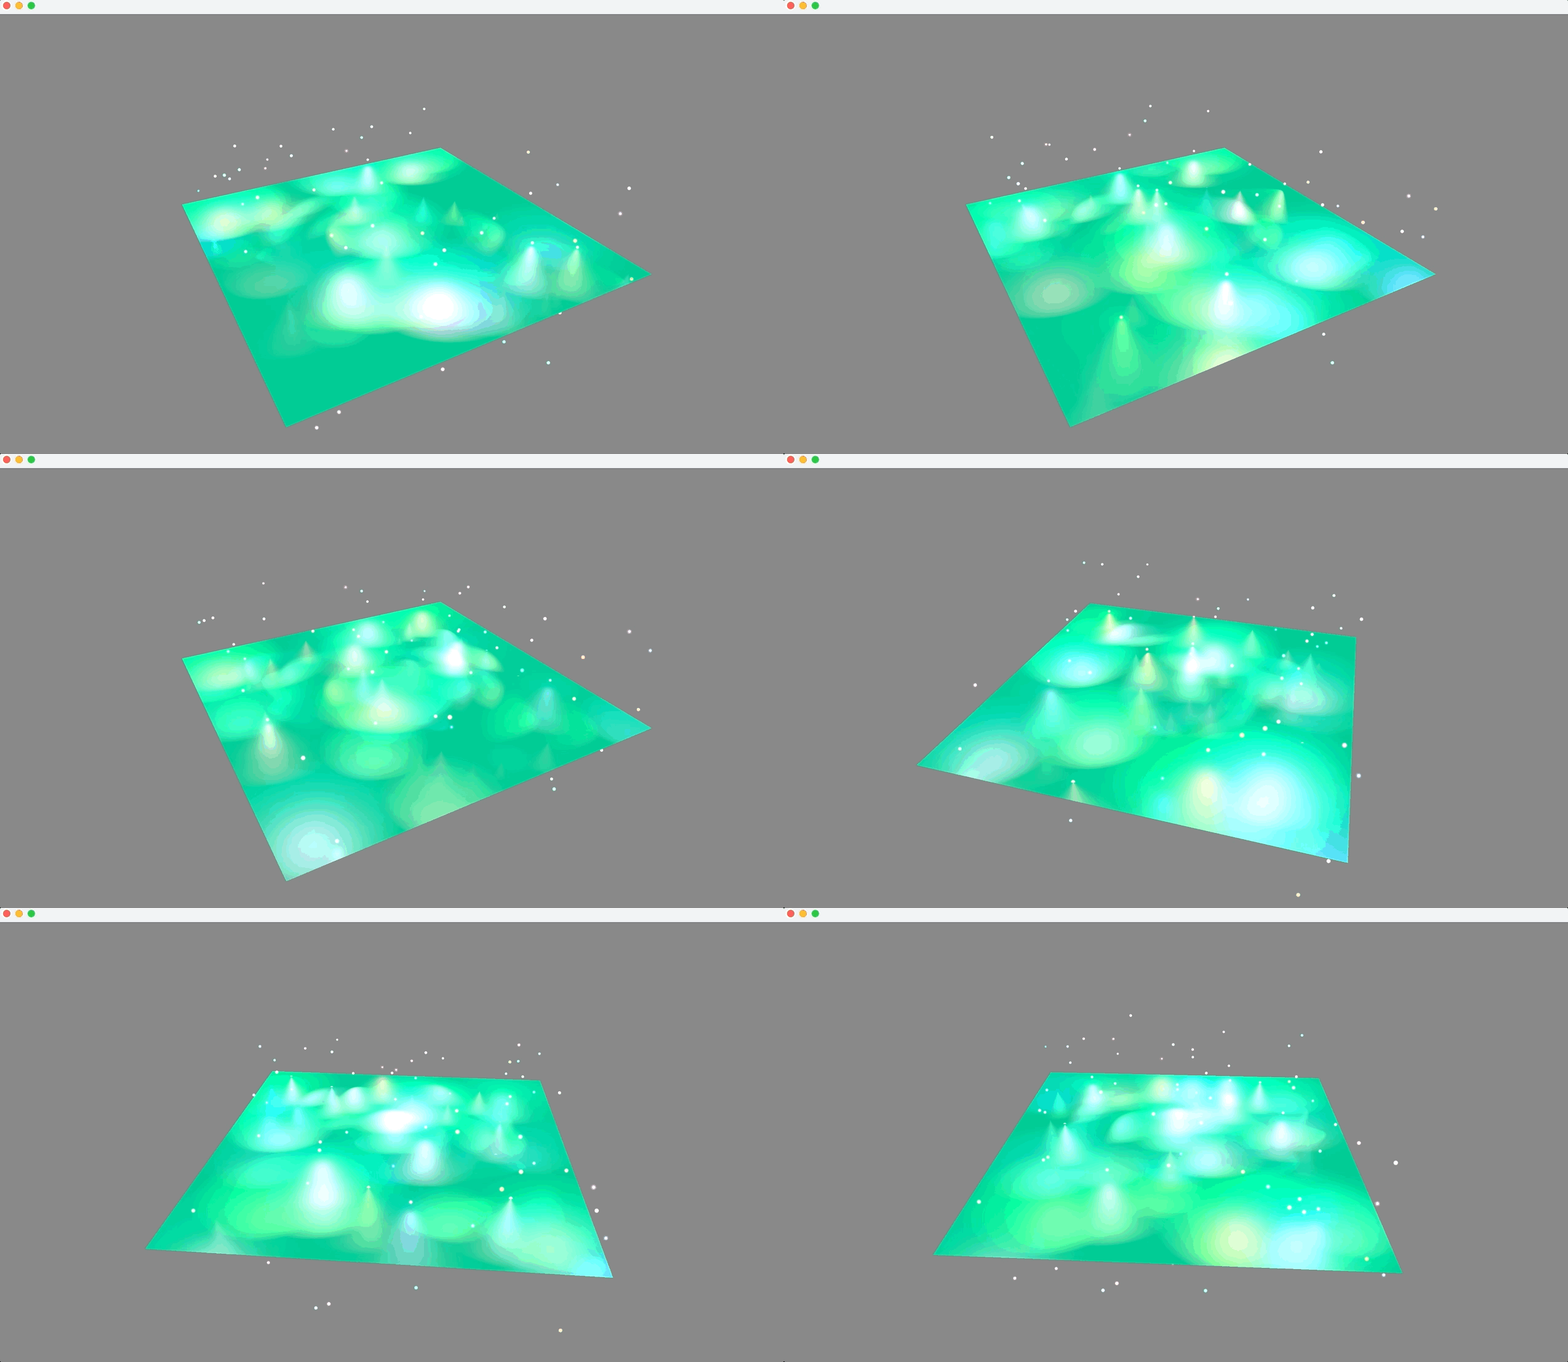
完成了与计算之后,我们仅需要修改原来的渲染材质中光源的遍历方式。过去没有这一选项时,每一个片段都会遍历所有的光源,即使这一光源对该片段没有任何作用。 但有了光源列表后,就可以根据片段的位置搜索对应的Cluster,取出光源列表,并且遍历少数光源即可。这样做大大降低了光源计算的开销。 在游乐场的案例中,可以看到很容易渲染出几十盏光源的效果。
if (macros.contains(POINT_LIGHT_COUNT)) {
    source += "{\n";

    if (LightManager::getSingleton().enableForwardPlus()) {
        source += "let lightCount = u_clusterLights.lights[clusterIndex].point_count;\n";
    } else {
        source += fmt::format("let lightCount = {}u;\n", (int)*macros.macroConstant(POINT_LIGHT_COUNT));
    }

    source += "var i:u32 = 0u;\n";
    source += "loop {\n";
    source += "if (i >= lightCount) { break; }\n";

    if (LightManager::getSingleton().enableForwardPlus()) {
        source += "let index = u_clusterLights.indices[lightOffset + i];\n";
    } else {
        source += "let index = i;\n";
    }

    source += fmt::format("    var direction = {}.v_pos - u_pointLight[index].position;\n", _input);
    source += "    var dist = length( direction );\n";
    source += "    direction = direction / dist;\n";
    source += "    var decay = clamp(1.0 - pow(dist / u_pointLight[index].distance, 4.0), 0.0, 1.0);\n";
    source += "\n";
    source += "    var d =  max( dot( N, -direction ), 0.0 ) * decay;\n";
    source += "    lightDiffuse = lightDiffuse + u_pointLight[index].color * d;\n";
    source += "\n";
    source += "    var halfDir = normalize( V - direction );\n";
    source += "    var s = pow( clamp( dot( N, halfDir ), 0.0, 1.0 ), u_blinnPhongData.shininess )  * decay;\n";
    source += "    lightSpecular = lightSpecular + u_pointLight[index].color * s;\n";

    source += "i = i + 1u;\n";
    source += "}\n";
    source += "}\n";
}
tip
从这里也可以看出,其实Forward+的本质在于光源剔除,其中最关键的并不是 "Forward",而是 "Tile/Cluster-based"。即使在延迟渲染中,可以完全应用一样的技术实现光源剔除。
因此在实现中,将Forward+写入到了LightManager,而不是直接构造到 Subpass 内部,就是处于这样的考虑。
调试工具
在开发过程中和阴影一样,都需要调试"预计算"的结果。但是,和 ShadowMap 不同,这里得到的结果是一个数组,无法直接可视化出来,因此最佳手段是提供一个用于调试的着色器:
encoder.addEntry({{"in", "VertexOut"}}, {"out", "Output"},  [&](std::string &source){
    source += "let clusterIndex : u32 = getClusterIndex(in.fragCoord);\n";
    source += "let lightCount : u32 = u_clusterLights.lights[clusterIndex].point_count + u_clusterLights.lights[clusterIndex].spot_count;\n";
    source += fmt::format("let lightFactor : f32 = f32(lightCount) / f32({});\n", _maxLightsPerCluster);
    source += "out.finalColor = mix(vec4<f32>(0.0, 0.0, 1.0, 1.0), vec4<f32>(1.0, 0.0, 0.0, 1.0), vec4<f32>(lightFactor, lightFactor, lightFactor, lightFactor));\n";
});
encoder.flush();
调试着色器的核心逻辑在于,通过片段找到 Cluster,然后得到其中保存的光源数量,用数量作为颜色进行调试。 游乐场 中的这一案例展示了对应的效果,在案例中会看到,调试材质会渲染出一个个颜色深浅不同的矩形,对应了收到影响当前光源数量。 借助这一工具很容易验证光源列表的预计算的结果是不是合理。